Wedding gifts are not something my fiancée, Caito, and I have traditionally put much thought into. Peruse the registry, pick something, and gift. But when we heard our good friends Alex & Rachel Clemesha were getting married, we knew we had to craft them something special.
We immediately committed to the idea of building them a replacement for the meh coffee table they’ve owned for a decade. We like to draw and build stuff and wanted to incorporate those two in one awesome table. Boy, were we in for a journey! 1½ years later and 7 months after their wedding we finally finished!
Below is the story of how we built this coffee table and all that we learned along the way!
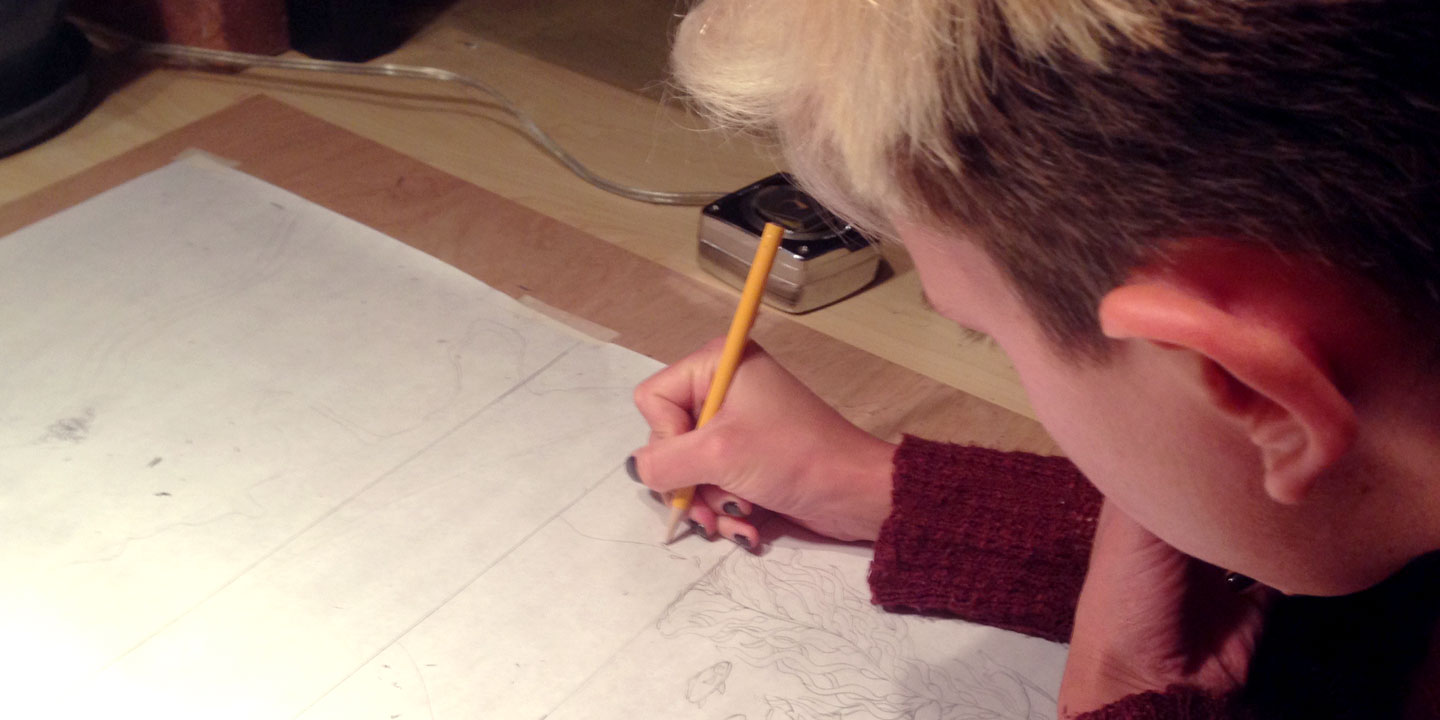
It all started with a full-scale drawing depicting both land and underwater views of La Jolla, California. Rachel and Alex met in La Jolla and have lived there for the last decade. They were even married there—if you look close you’ll see Alex down on one knee proposing! We wanted to showcase the beauty of La Jolla while also including vignettes of meaningful adventures and experiences that occurred over the years.
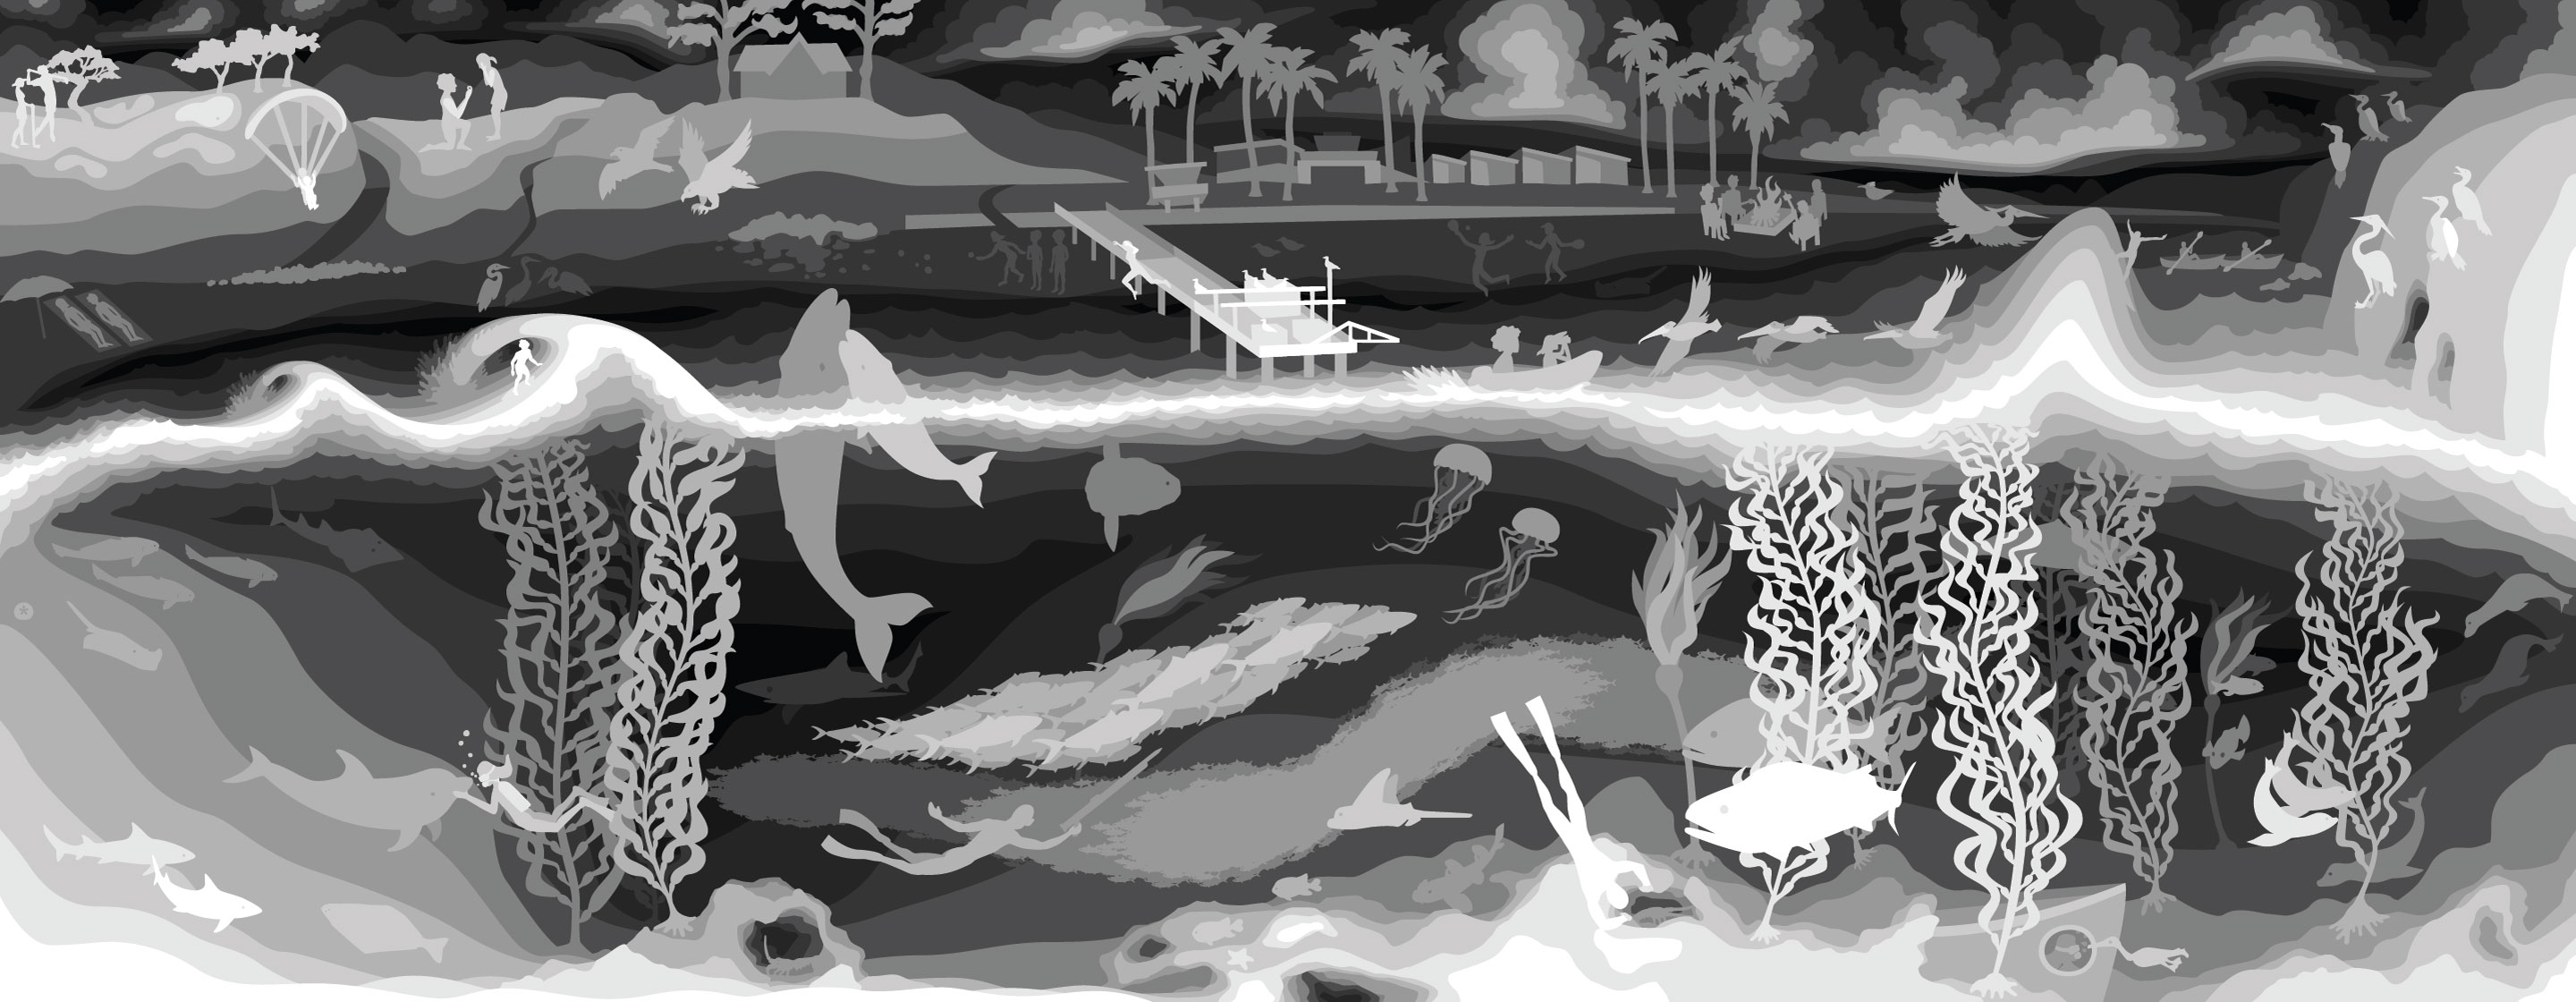
Vectoring took months. The plan for incorporating the illustration into the table stole inspiration from the super talented Martin Tomsky. Each layer would be laser cut out of ⅛″ plywood and stained a different color to create depth.
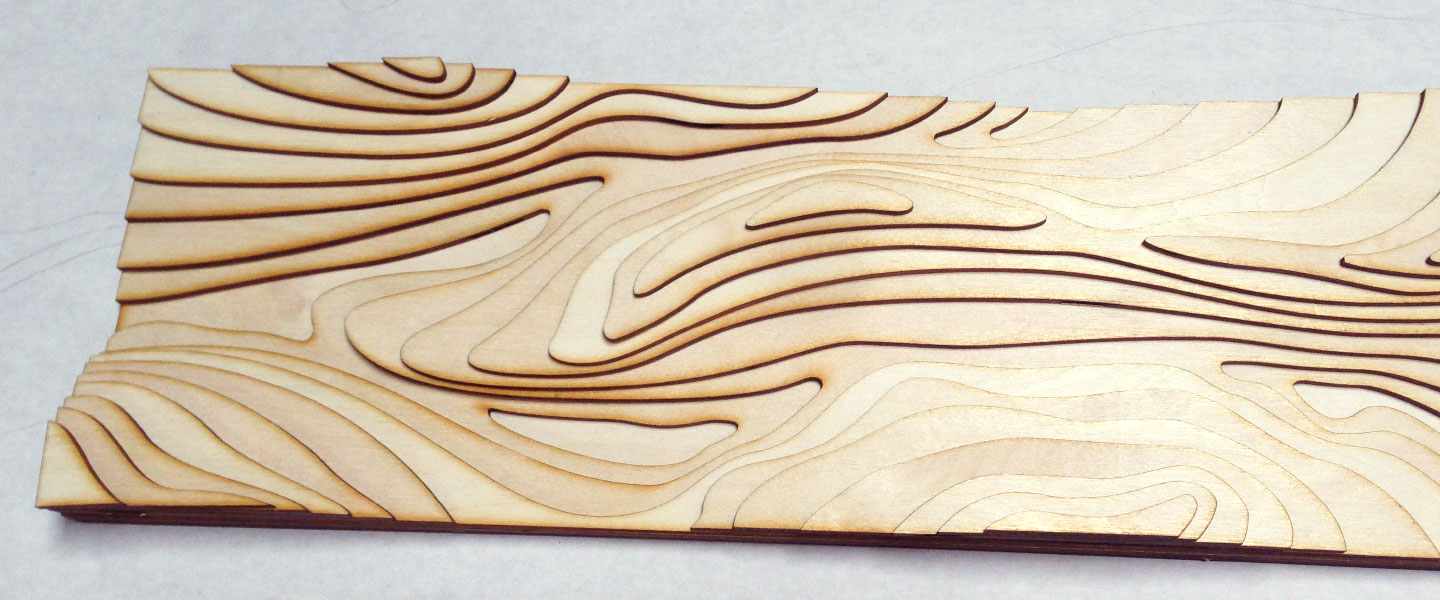
Since almost everything we tried was a new technique for us, we did tons of tests along the way. This was the first laser cut test (18″ x 9″) that we had a professional complete, but we quickly realized the high cost of a large scale project (54″ x 21″) like we imagined.
To save money we joined MakerPlace, a shared workshop with laser cutters that we learned to operate. While decently large, the laser cutters were not large enough to accommodate the entire length of the coffee table. To work around this constraint we cropped each layer in half before cutting. All the seams were hidden under pieces from the layer above.
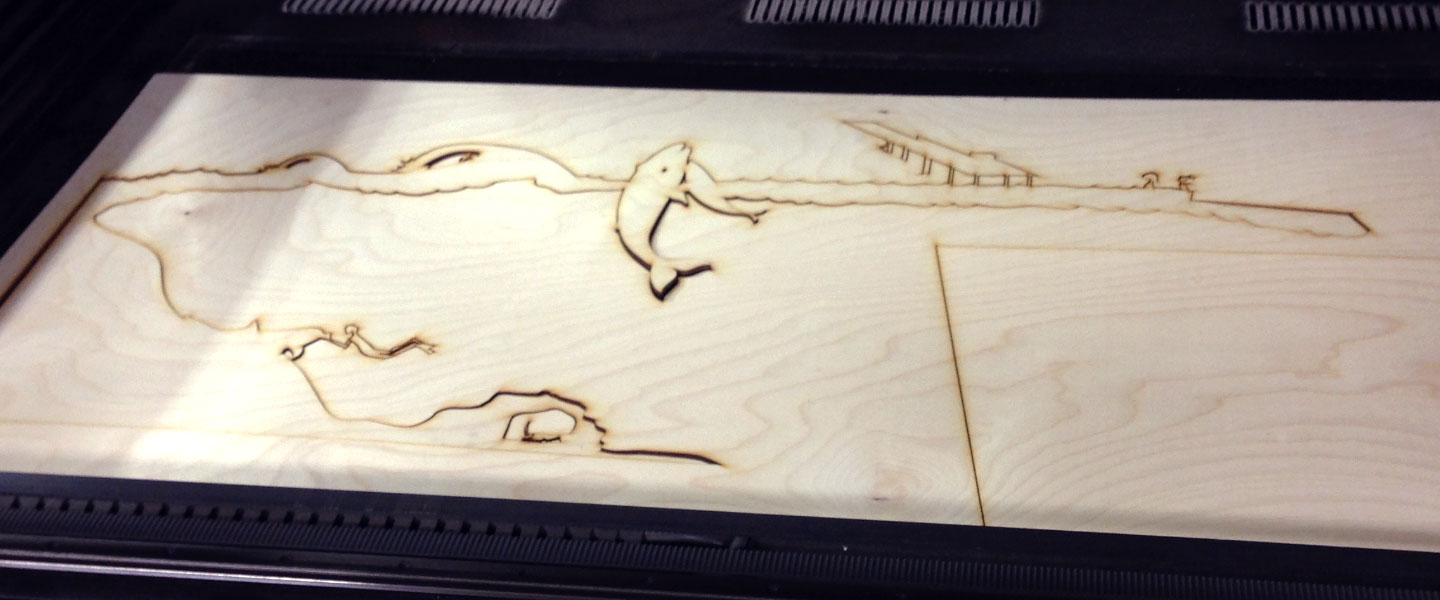
The laser cutter at work.
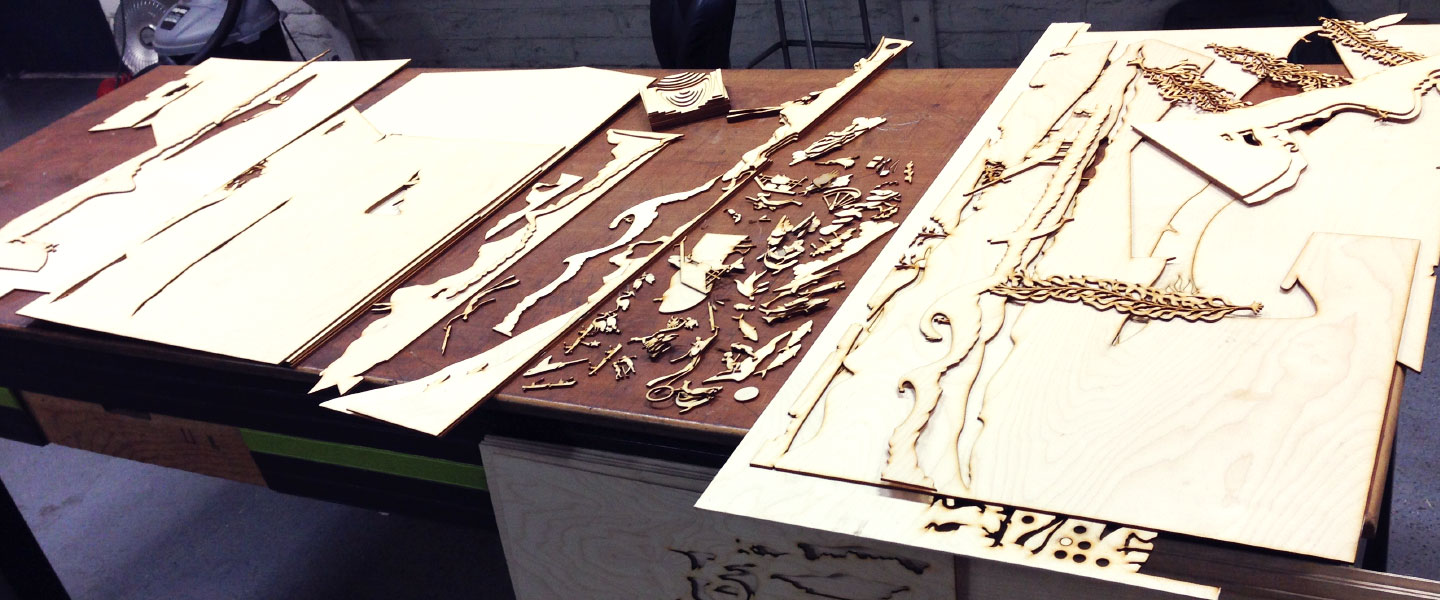
After all 330 pieces were cut, we put them back together like a puzzle, constantly referring to the vector file. Each piece was numbered on the back with the layer it belonged to.
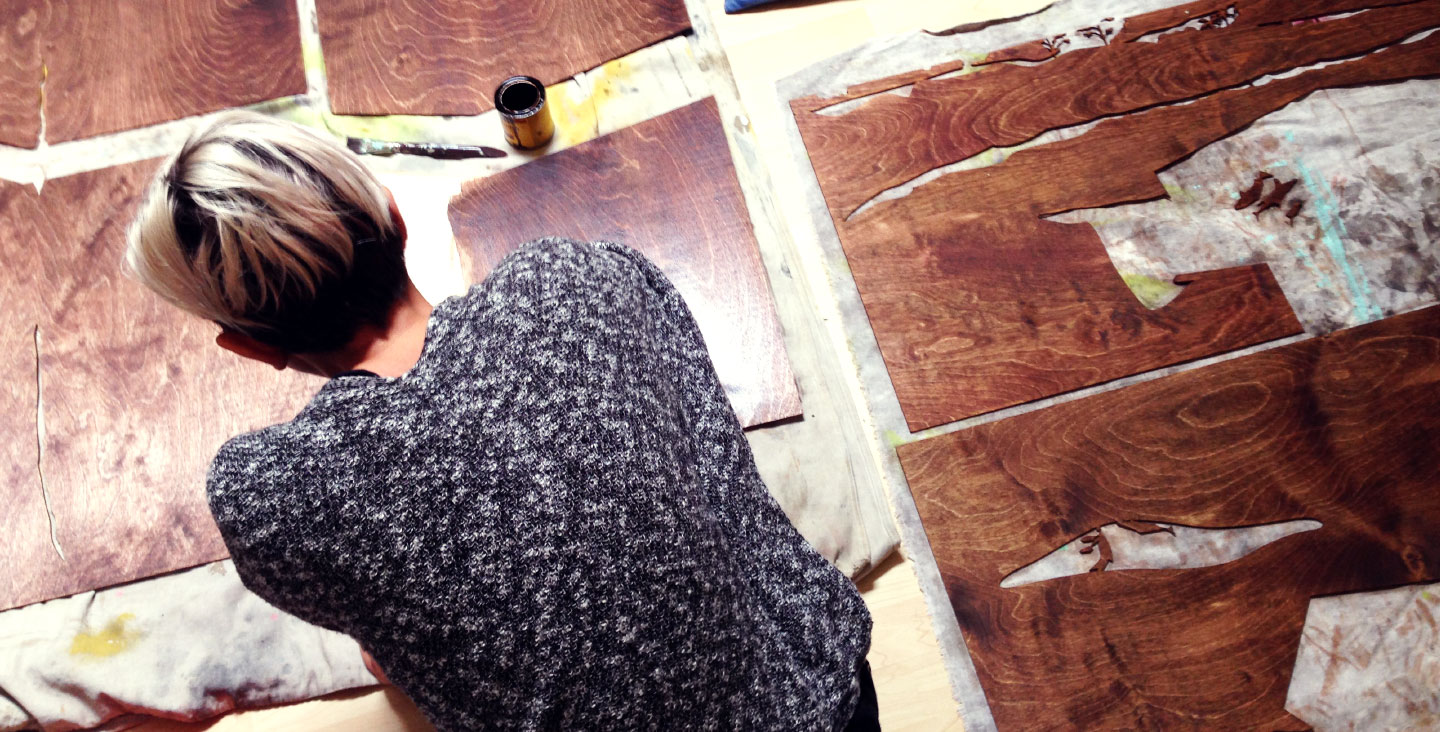
Then it was time to stain each layer. We spent weeks doing trial runs with the stains to finally arrive at the perfect array of colors. This is when our 1 bedroom apartment got a little crowded with layers sprawled on all of our floors.
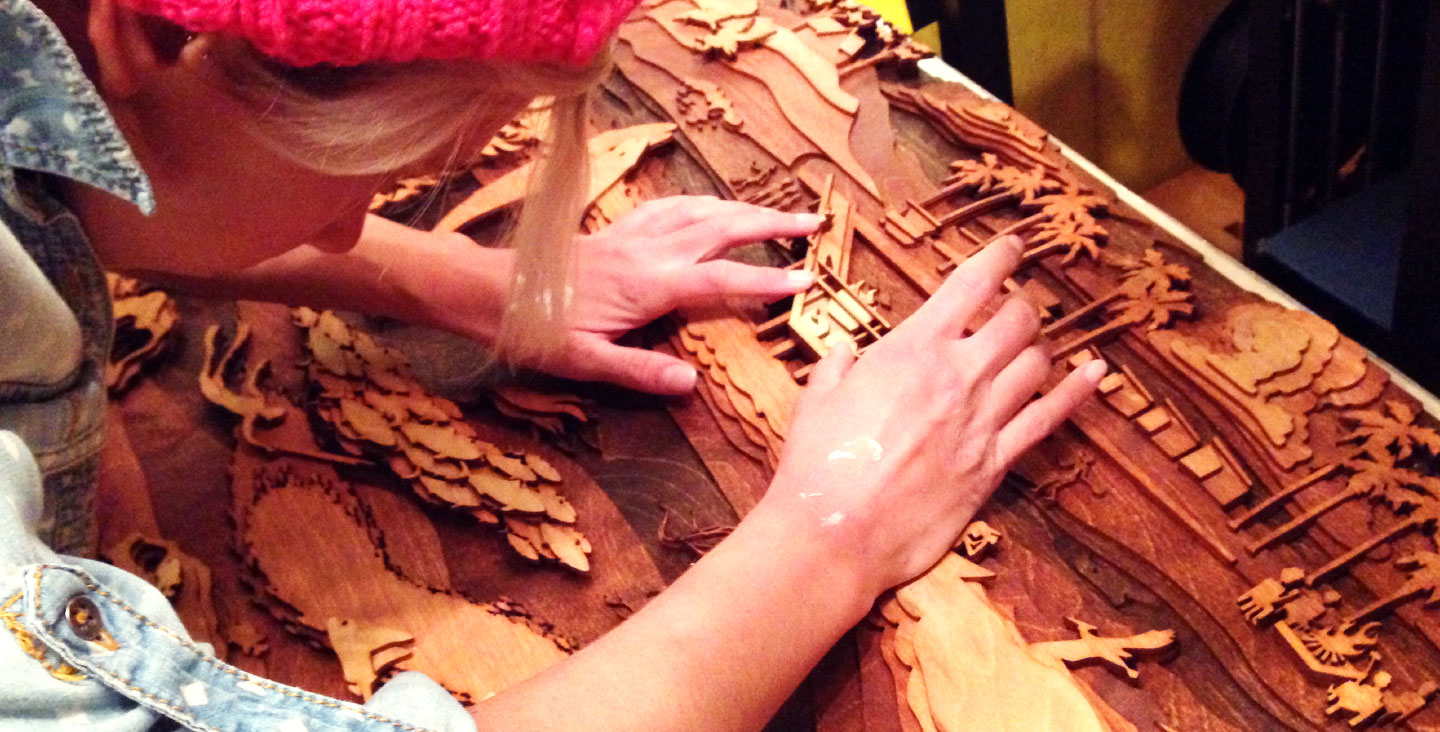
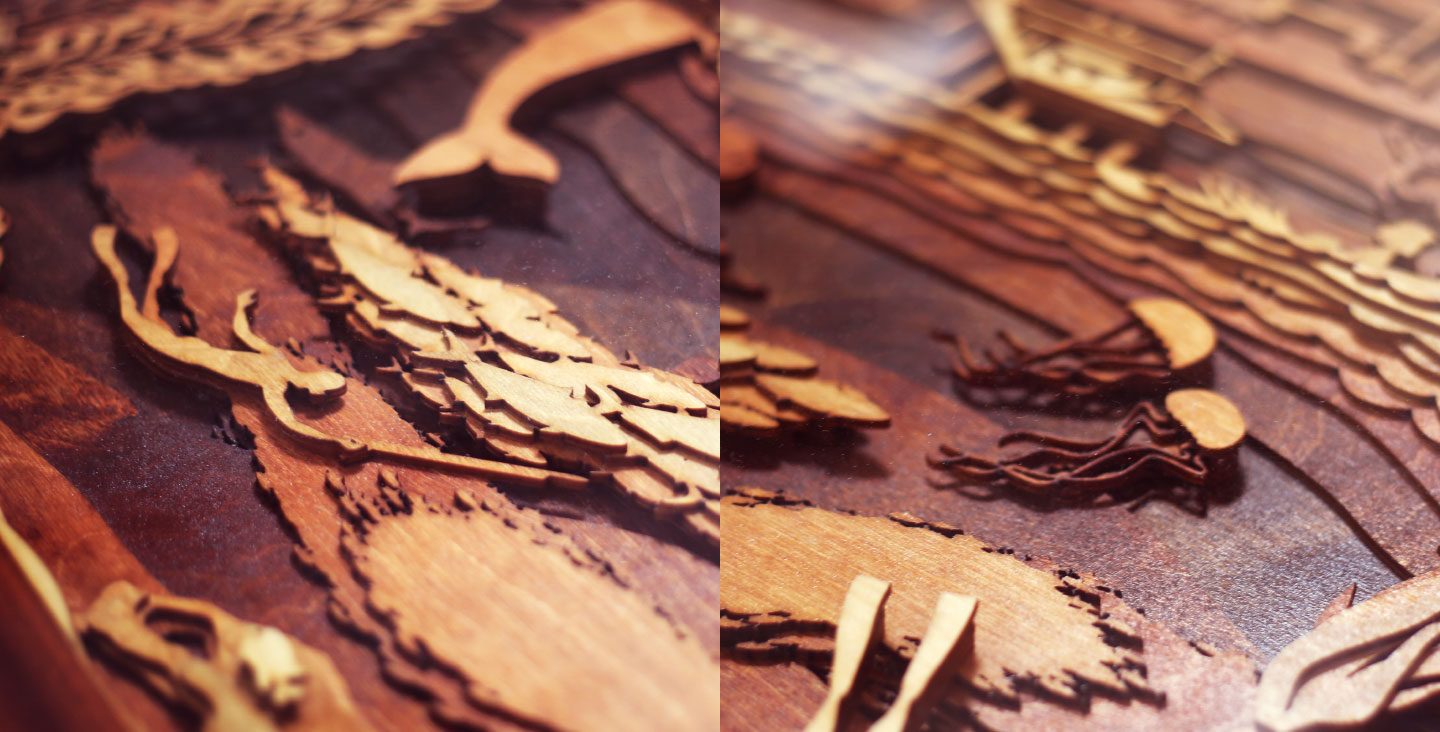
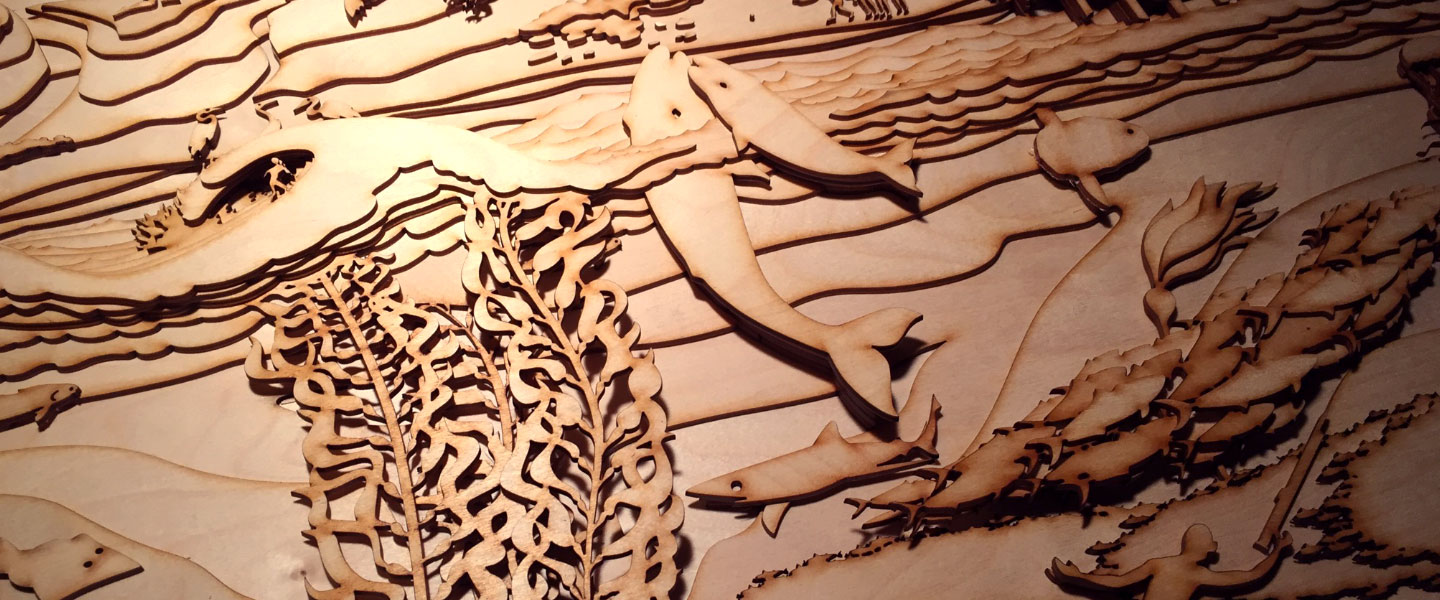
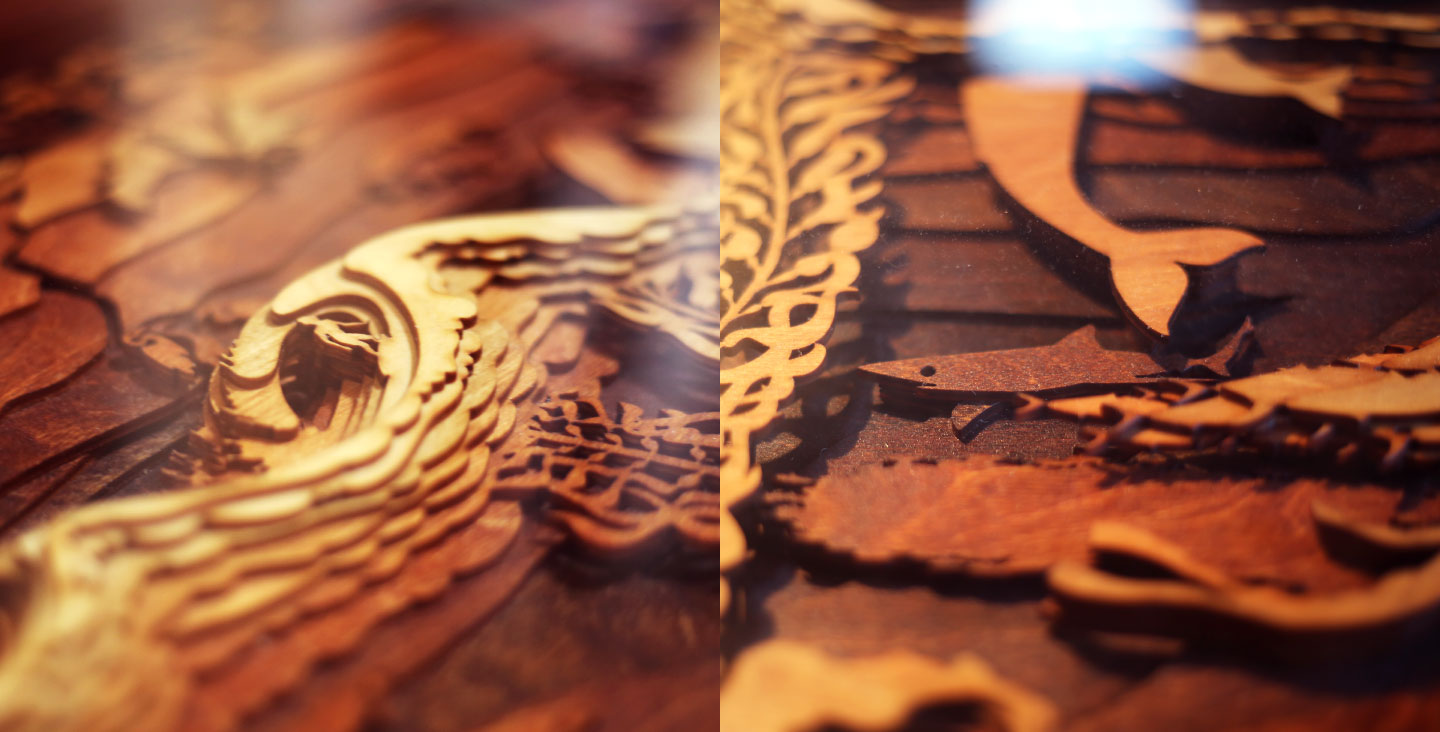
Finally, it was time to glue! (and reclaim our apartment) Starting with the bottom, layer 11, each layer was glued on top of each other utilizing the technical skills of finger smearing. After carefully coating each piece with glue, we had to quickly clean our fingers to press the piece firmly in place and wipe up any glue squeeze out.
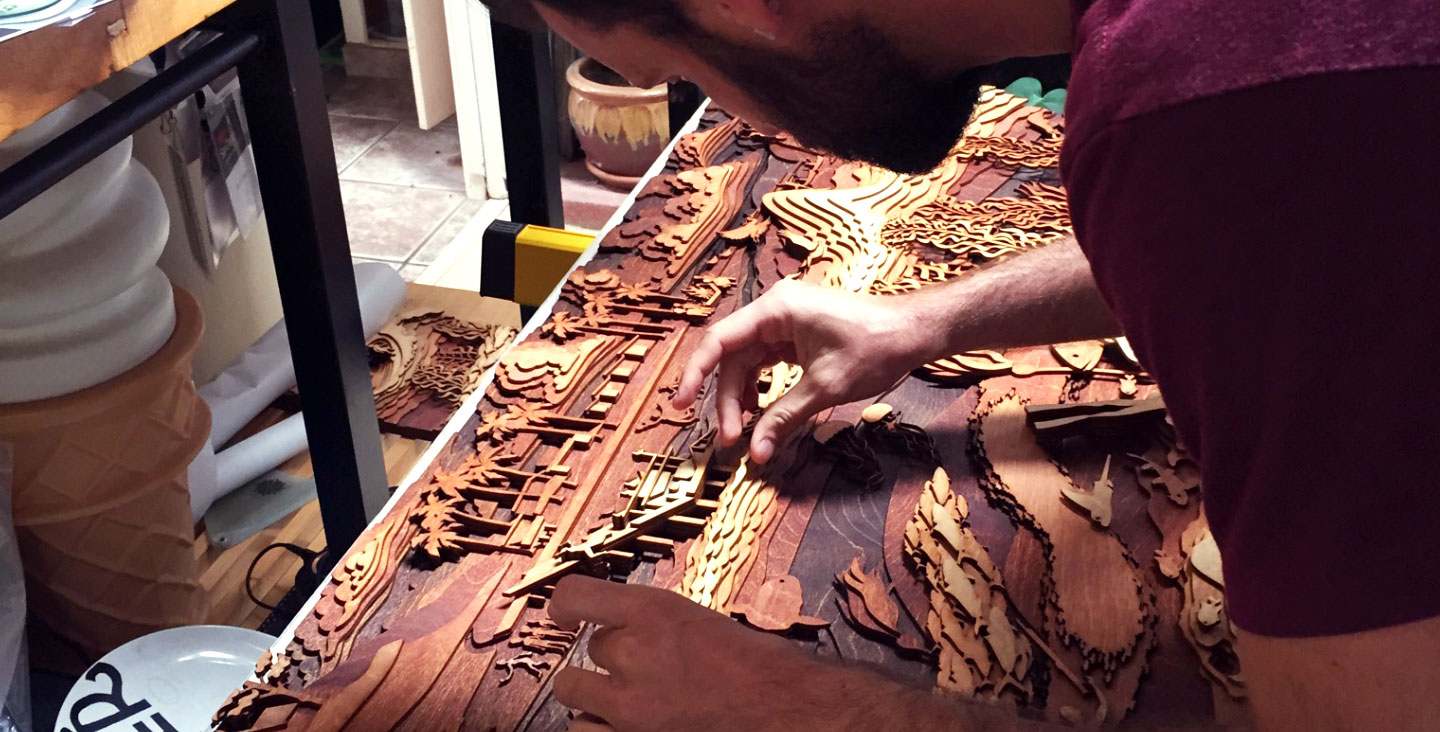
Setting the final piece!
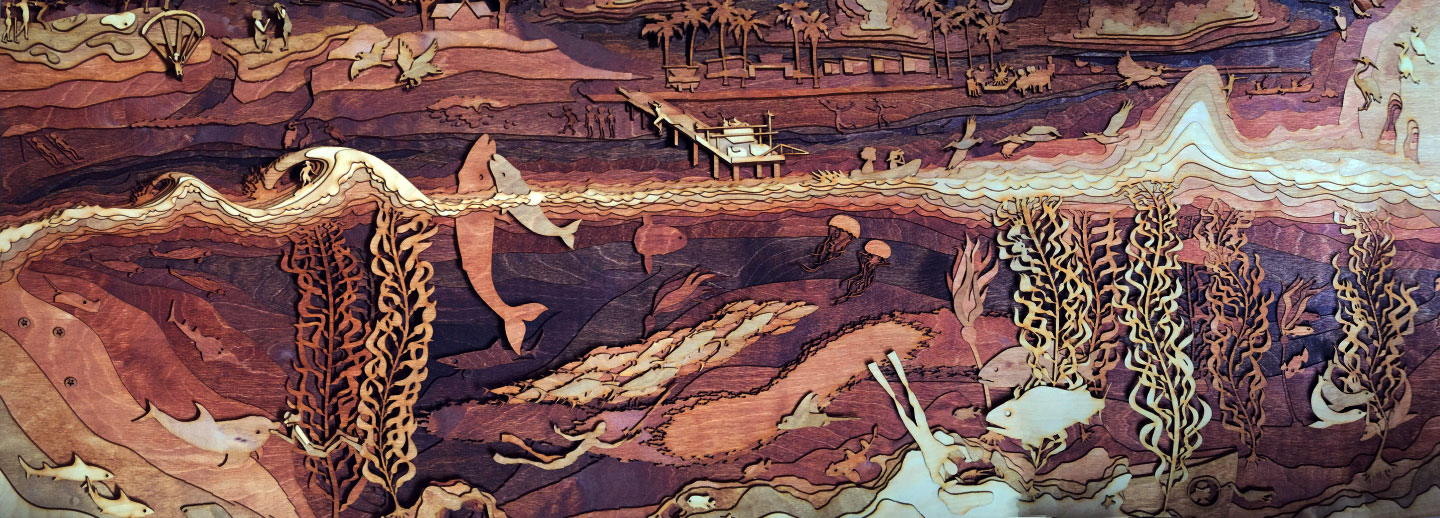
The finished illustration…now onto the table.
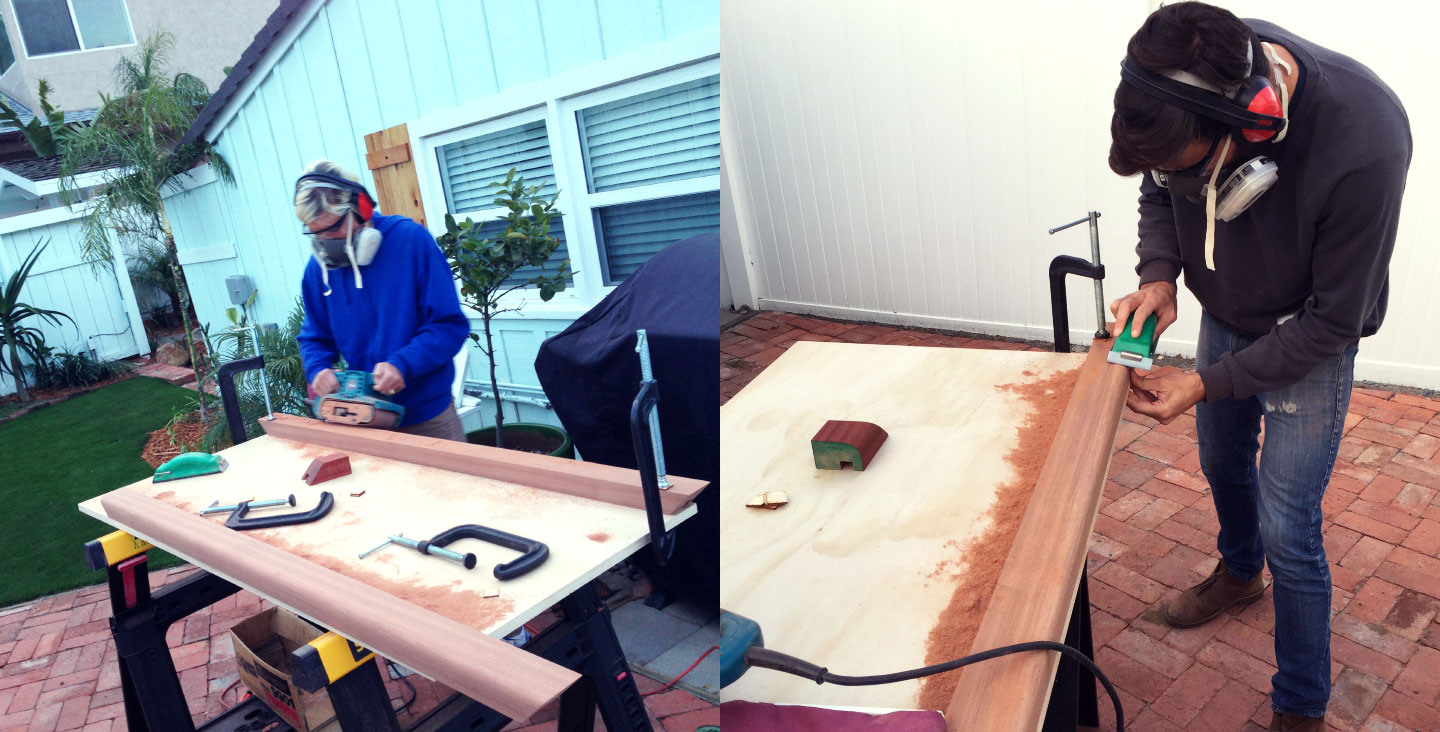
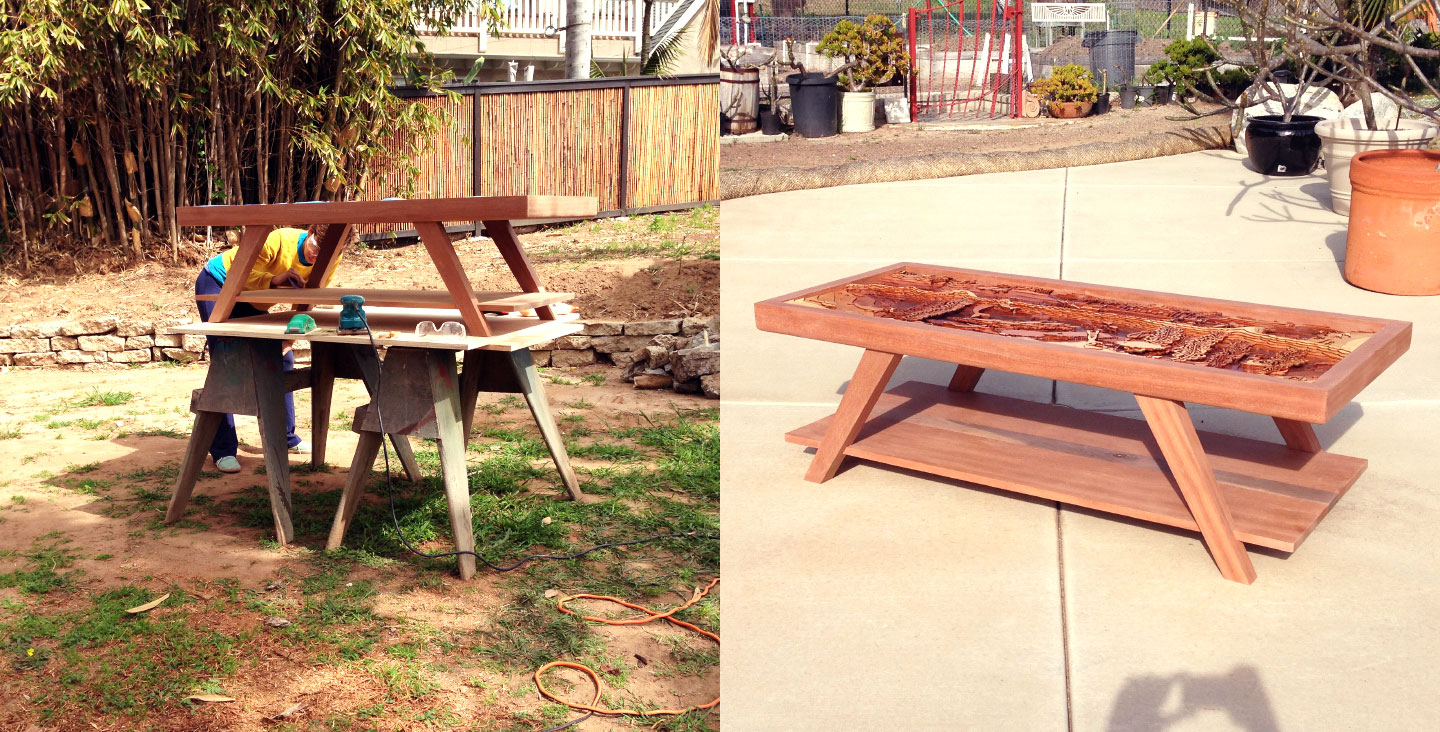
To accent the red hue of the stained illustration, we selected quarter sawn sapele. We started with the rails that would frame the illustration. They had a groove in them all the way around that a thicker piece of plywood would fit into and the illustration would sit on top of. Above we are sanding out a large bevel for the bottom edge.
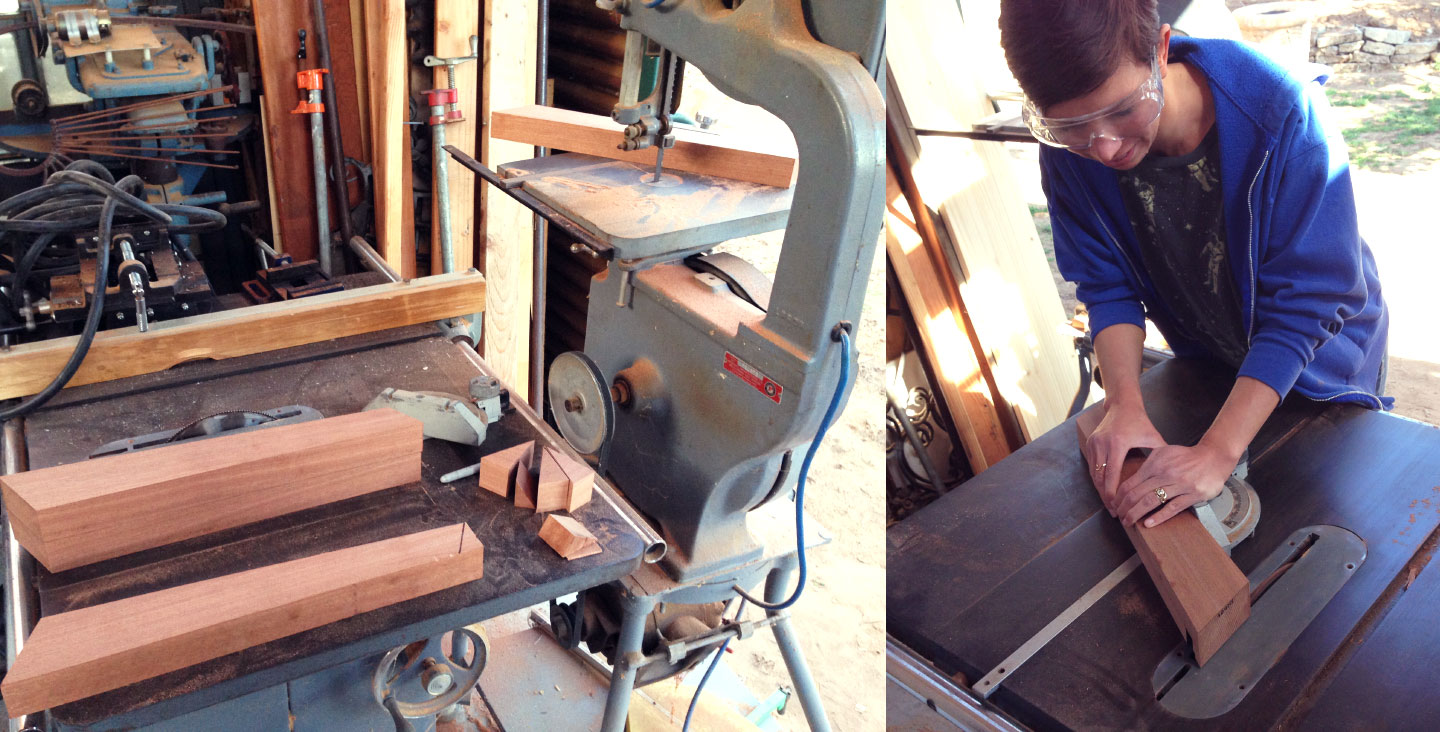
The legs were tapered and splayed, so we spent a lot of time scratching our heads trying to get everything square. Luckily it all worked out with no huge mistakes. (keyword: huge)
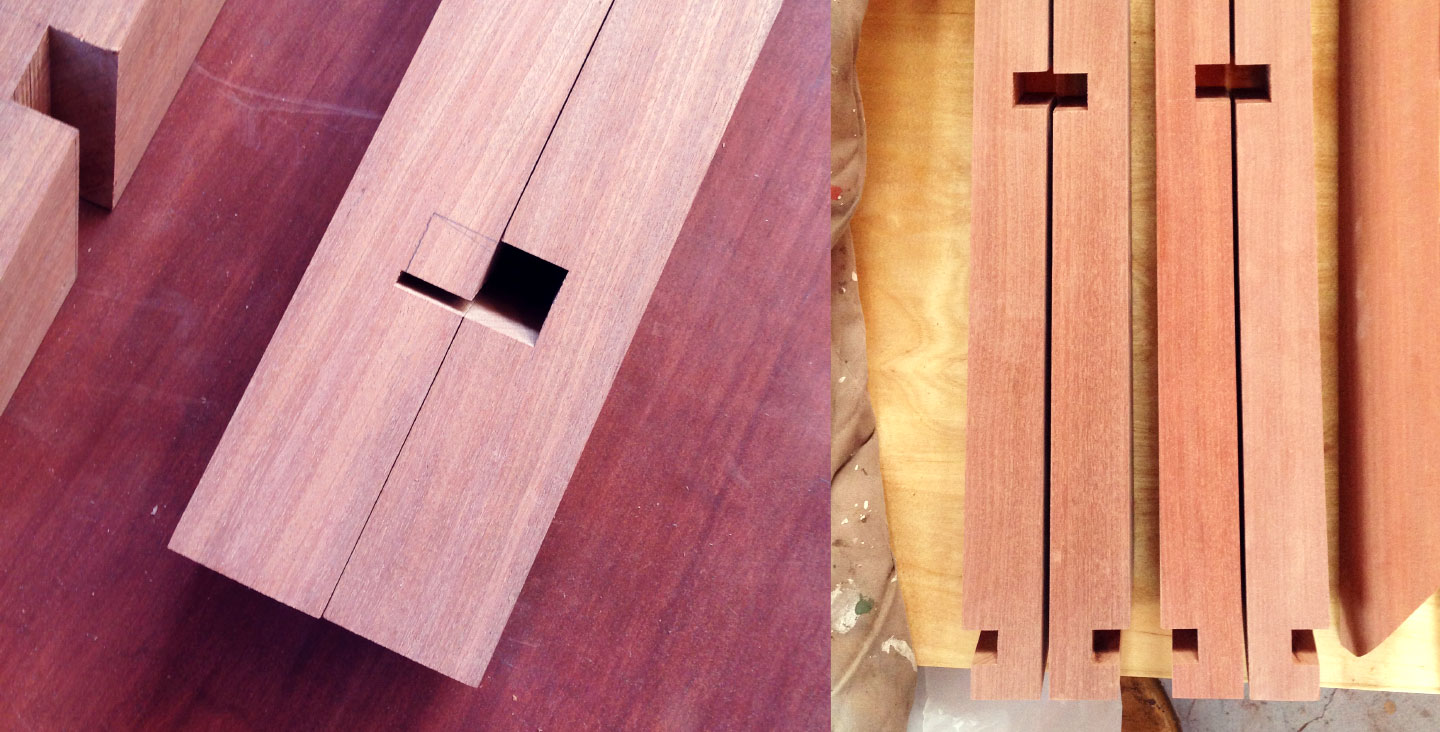
Each leg has a groove at the top to attach to the perimeter rails and a second lower groove that the bottom shelf slides into.
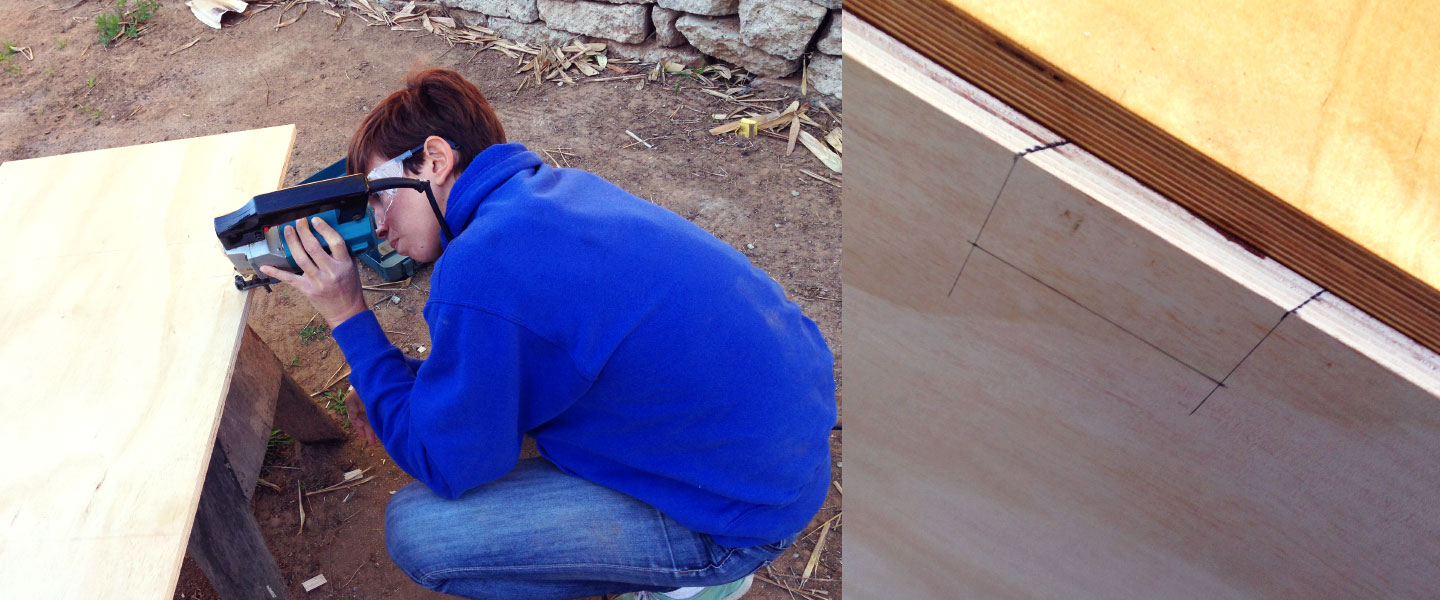
We cut angled slots in the plywood to wrap around the legs. This made very snug joints and a solid construction.
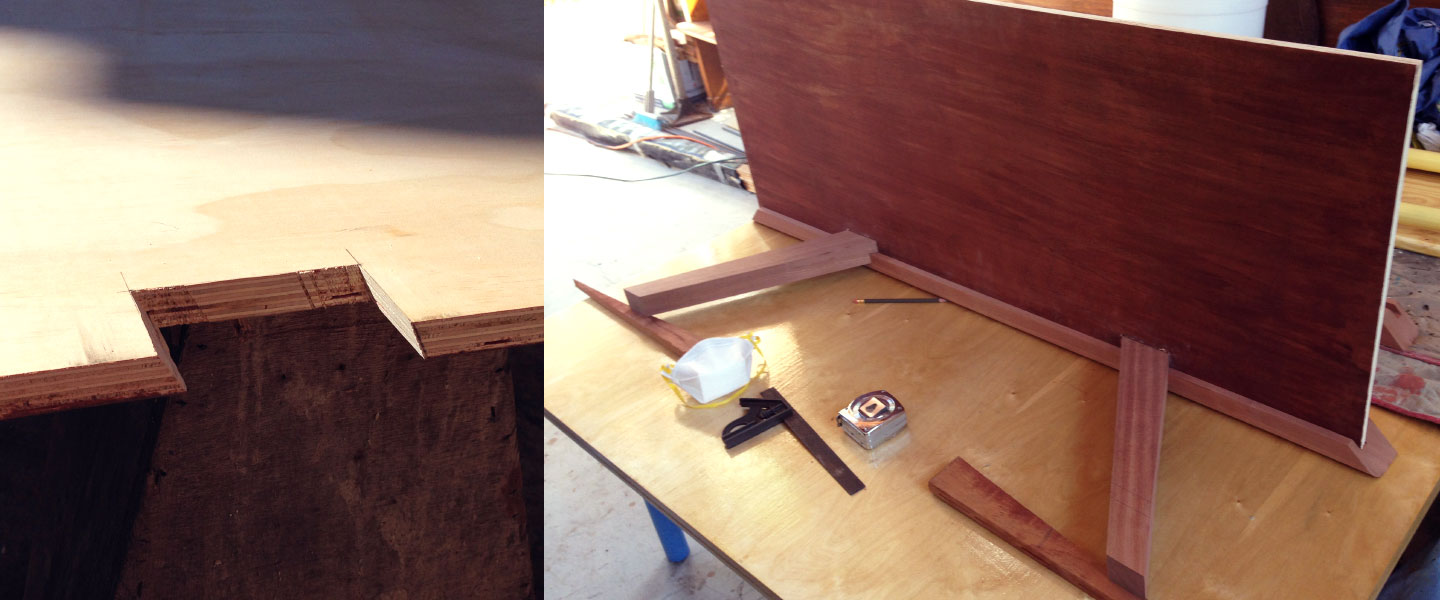
The legs fit!
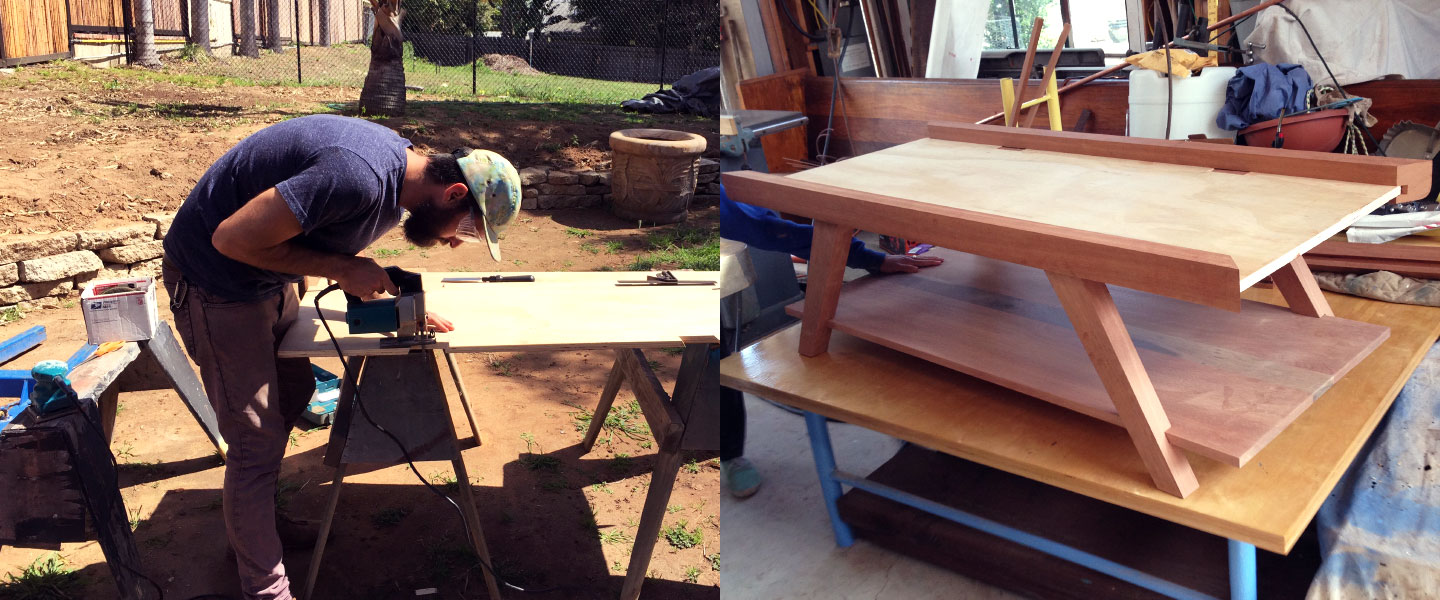
Starting to all come together! We did a number of dry clamps to make sure everything worked.
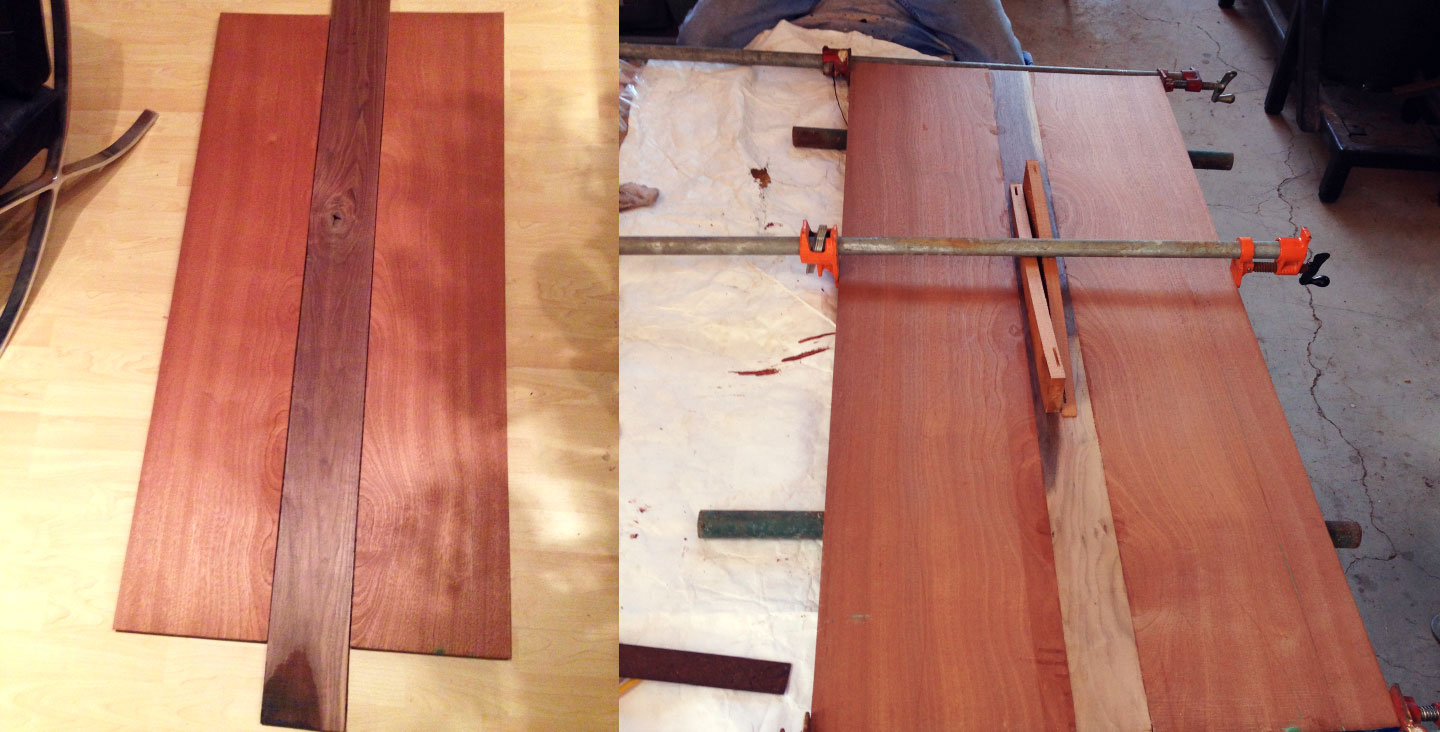
We accidentally miscalculated how much sapele we’d need for the bottom shelf and came up a few inches short. Instead of trying to get more sapele that matched the two boards we decided to get some walnut for contrast. We picked out a board with fairly clean heartwood, but once we got it home we were won over by the other side with the sapwood.
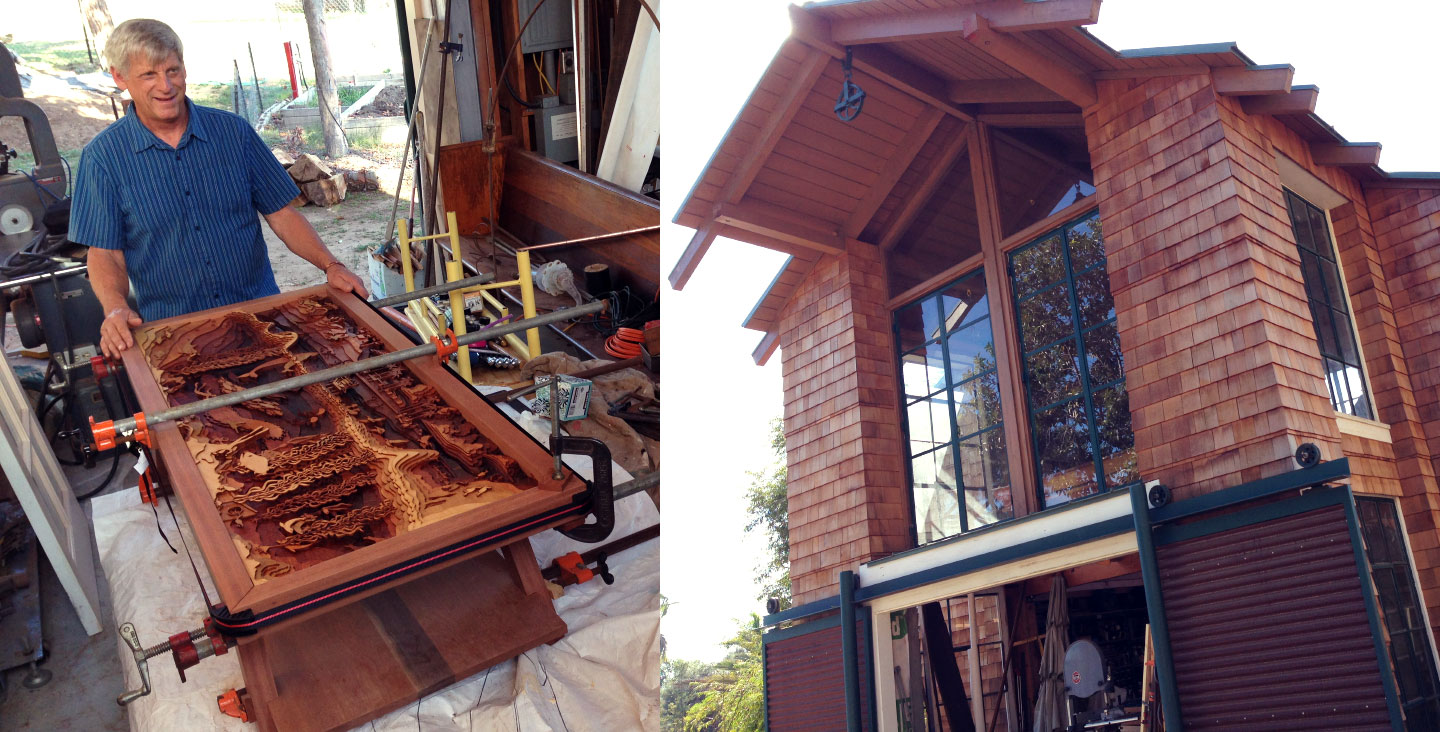
All glued up! This is my Dad and his workshop (that he built himself!) where a lot of the project took place. We couldn’t have made this without him, he offered endless guidance, tools, and helping hands—Thanks Dad!
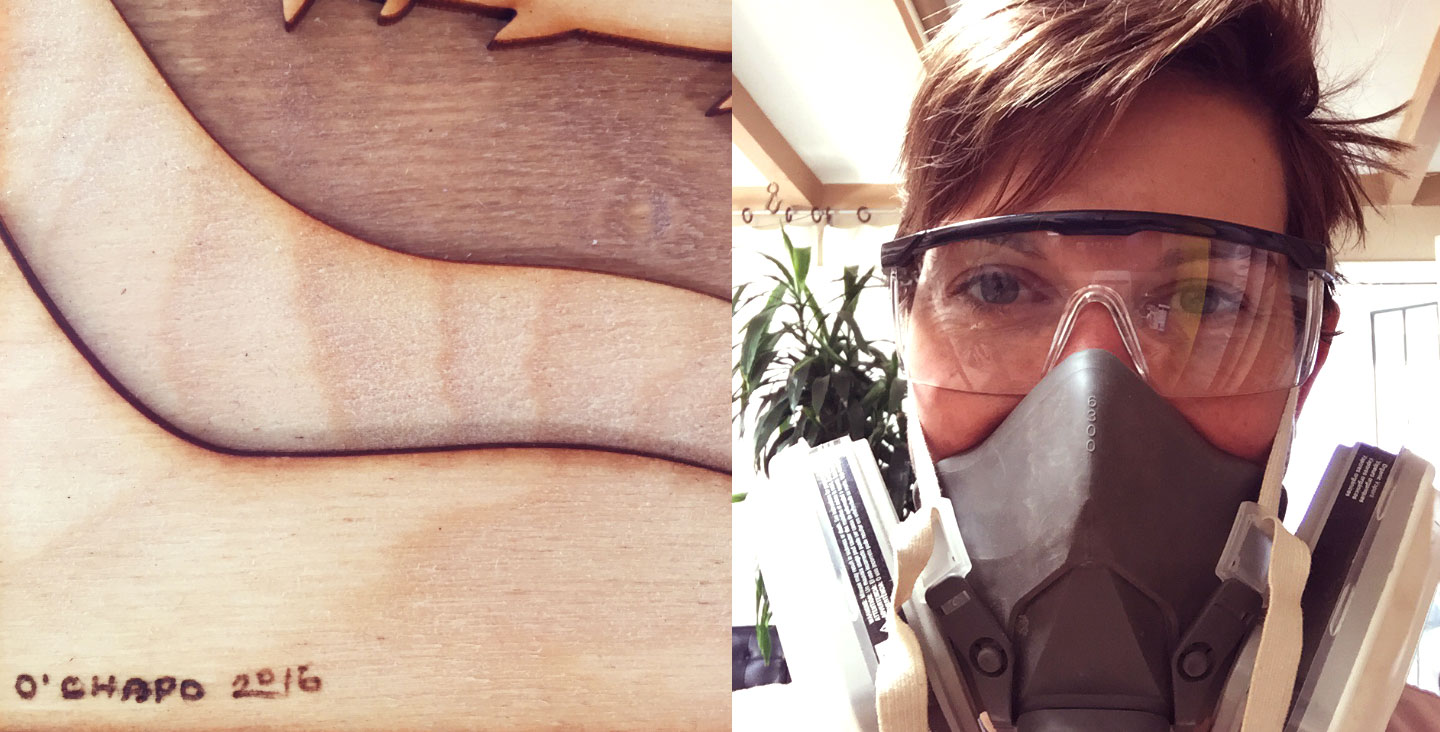
We spent more time sanding than anything else.
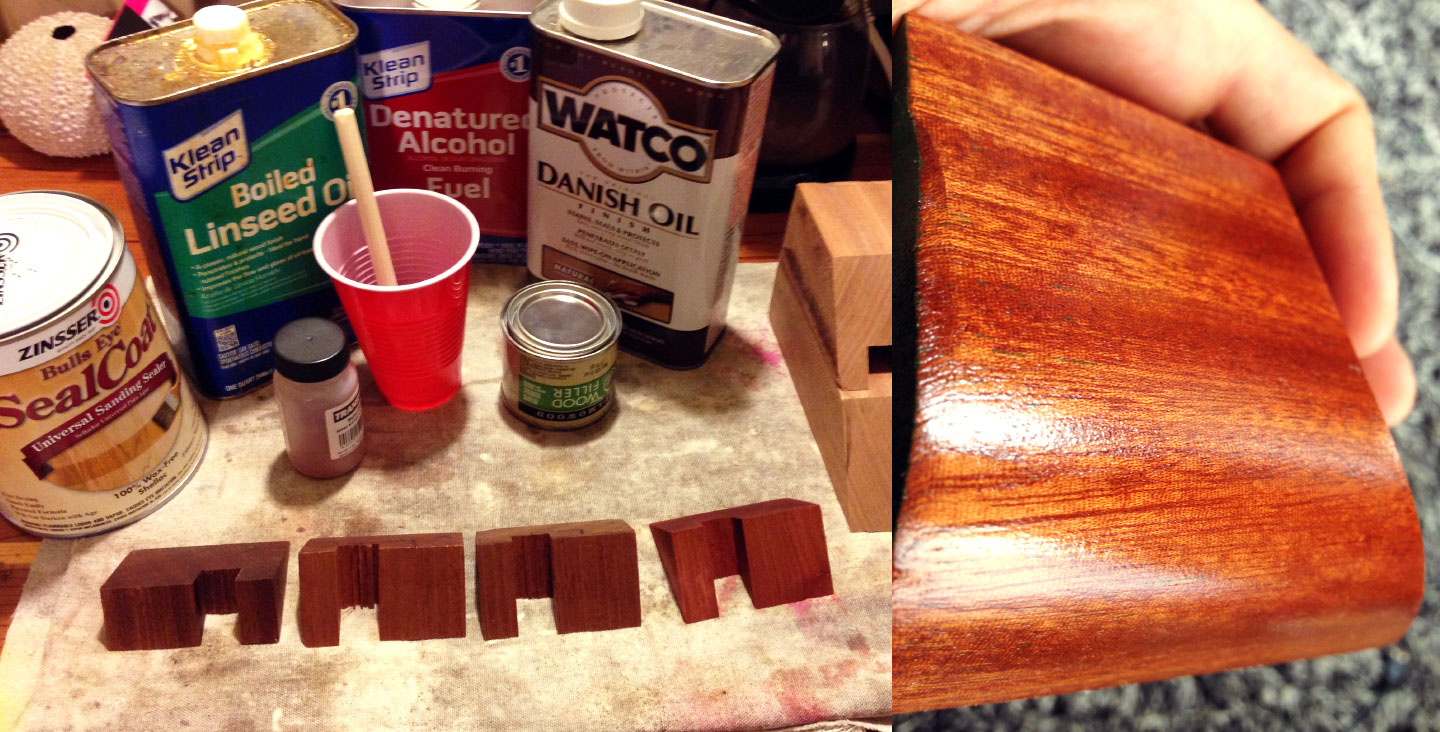
We ran a bunch of finishing tests on the scraps. The final finish was a touch of red dye followed by boiled linseed oil and sealed with lacquer. This left the grains open for a natural feel, but still a vibrant kick from the dye.
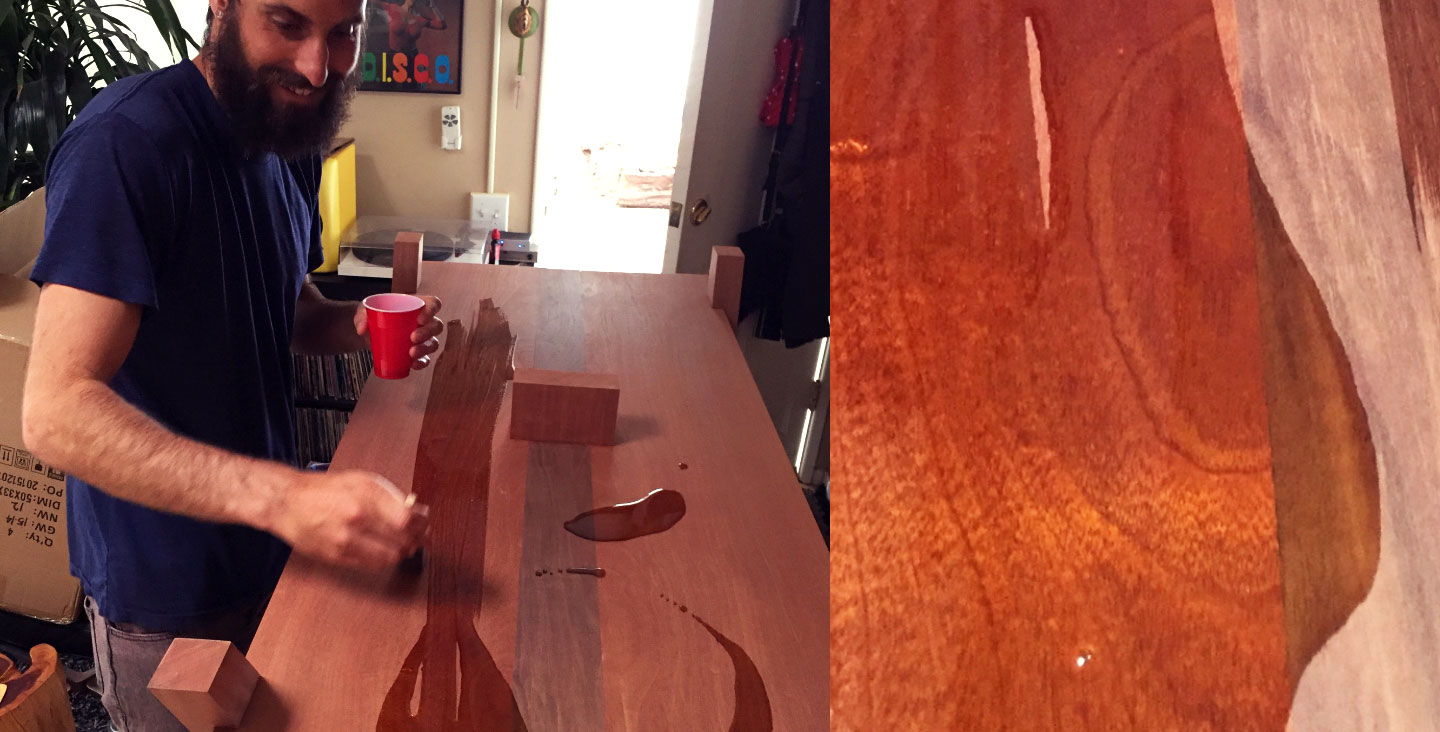
Laying down the BLO, always the most rewarding step! Look at that gorgeous grain!
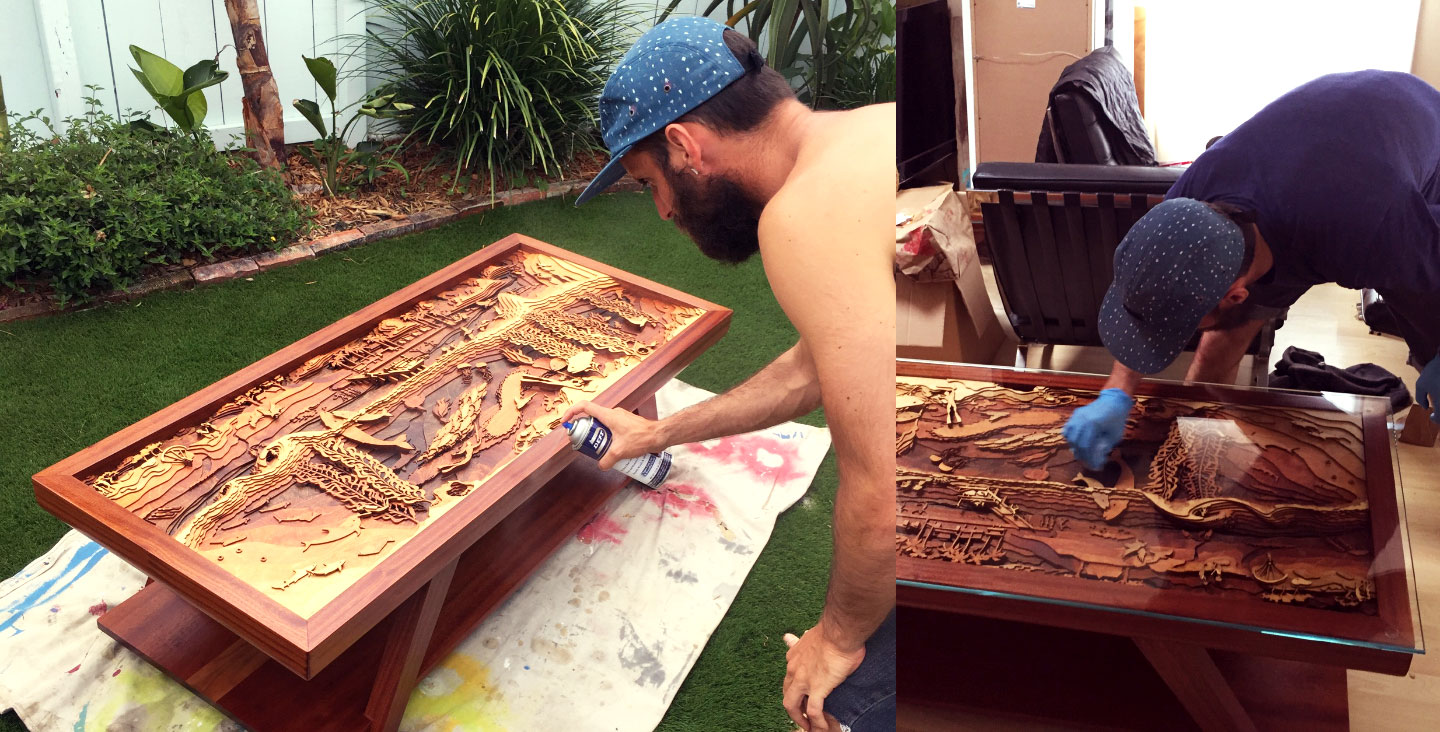
Five or six bottles of spray lacquer later and we were ready to top it with a piece of custom glass. Look at my perfectionism—wiping off fingerprints with gloves on.
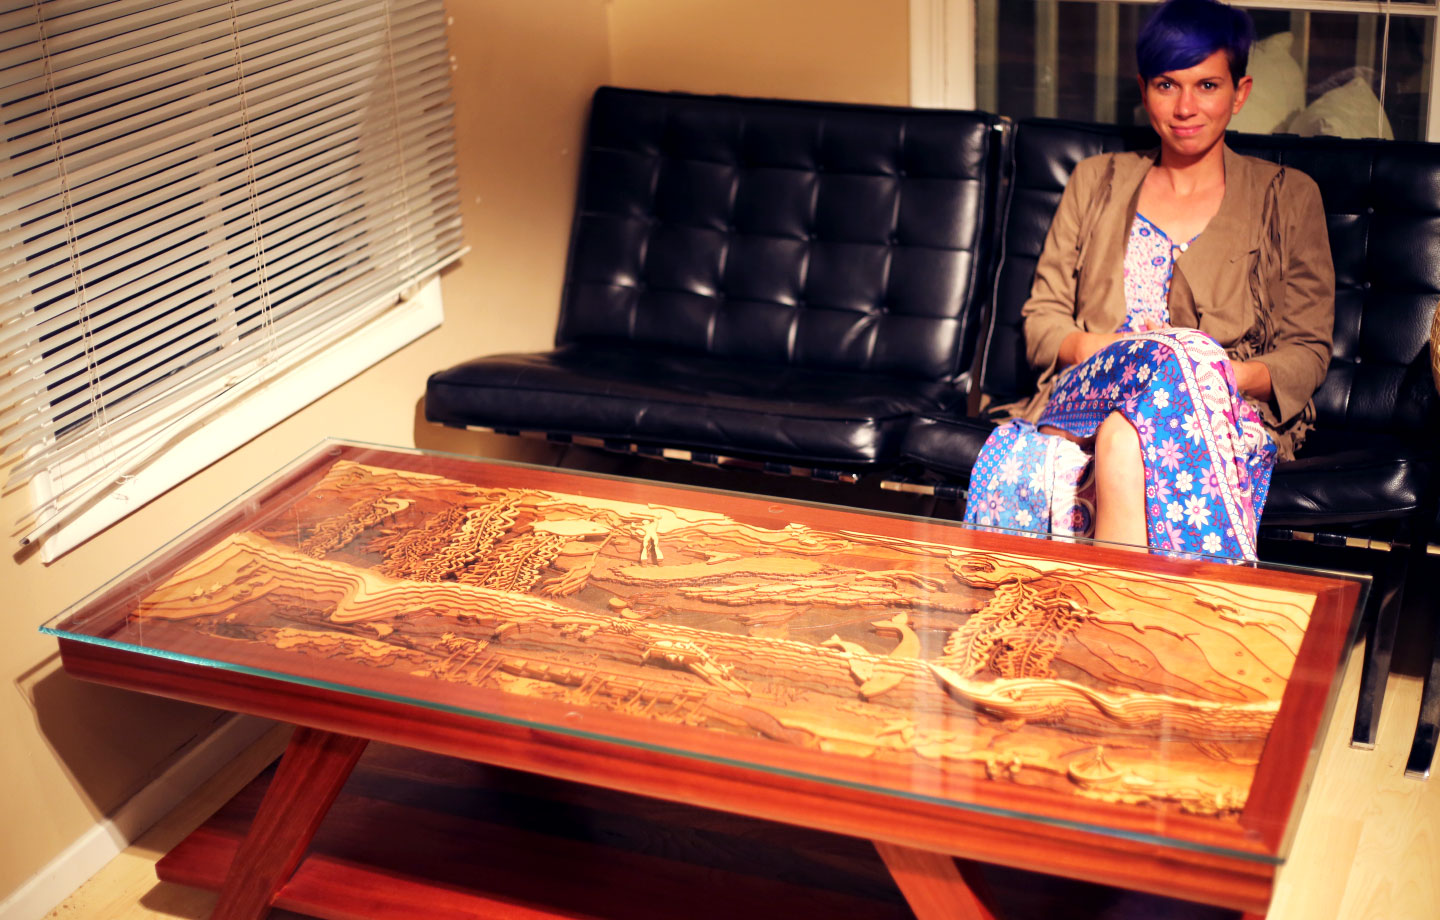
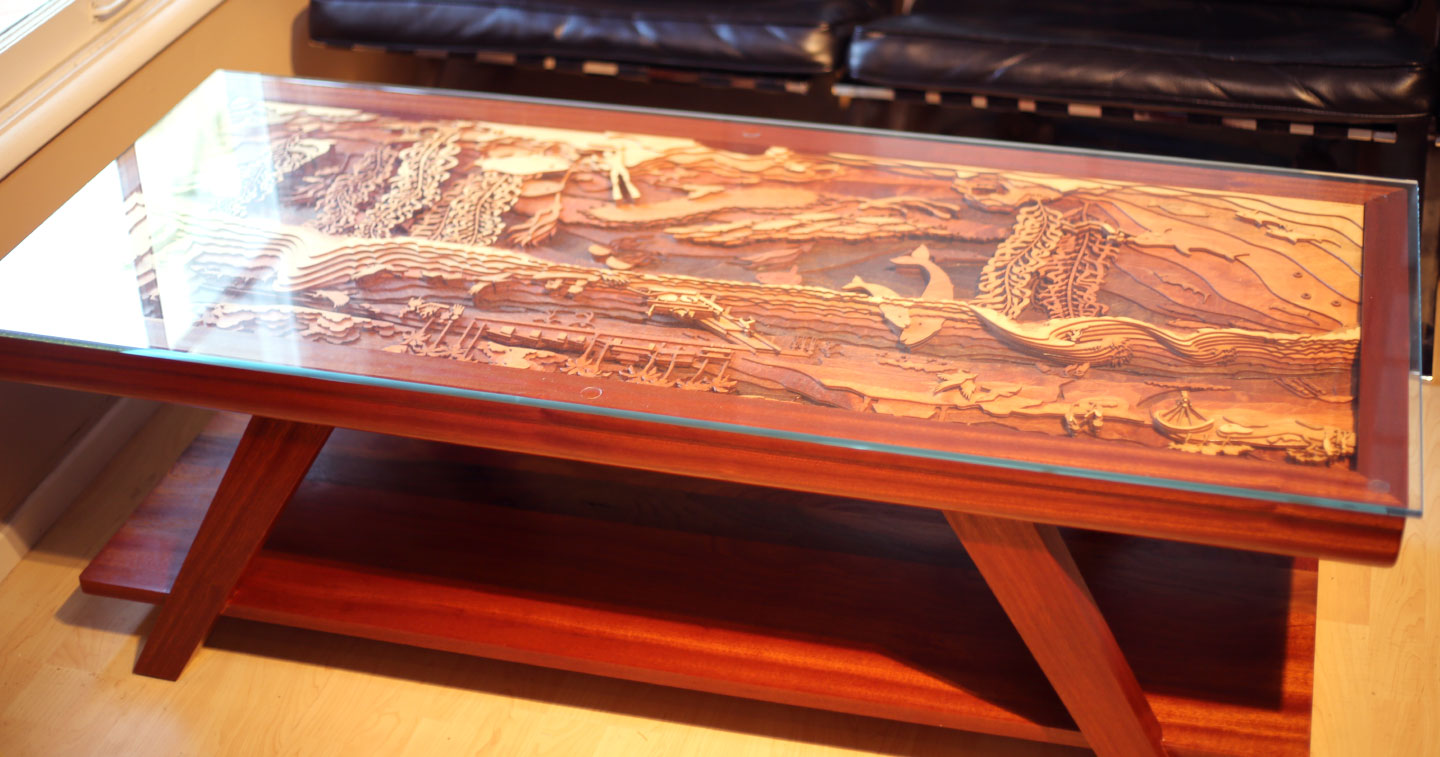
We can’t believe it’s done!!!
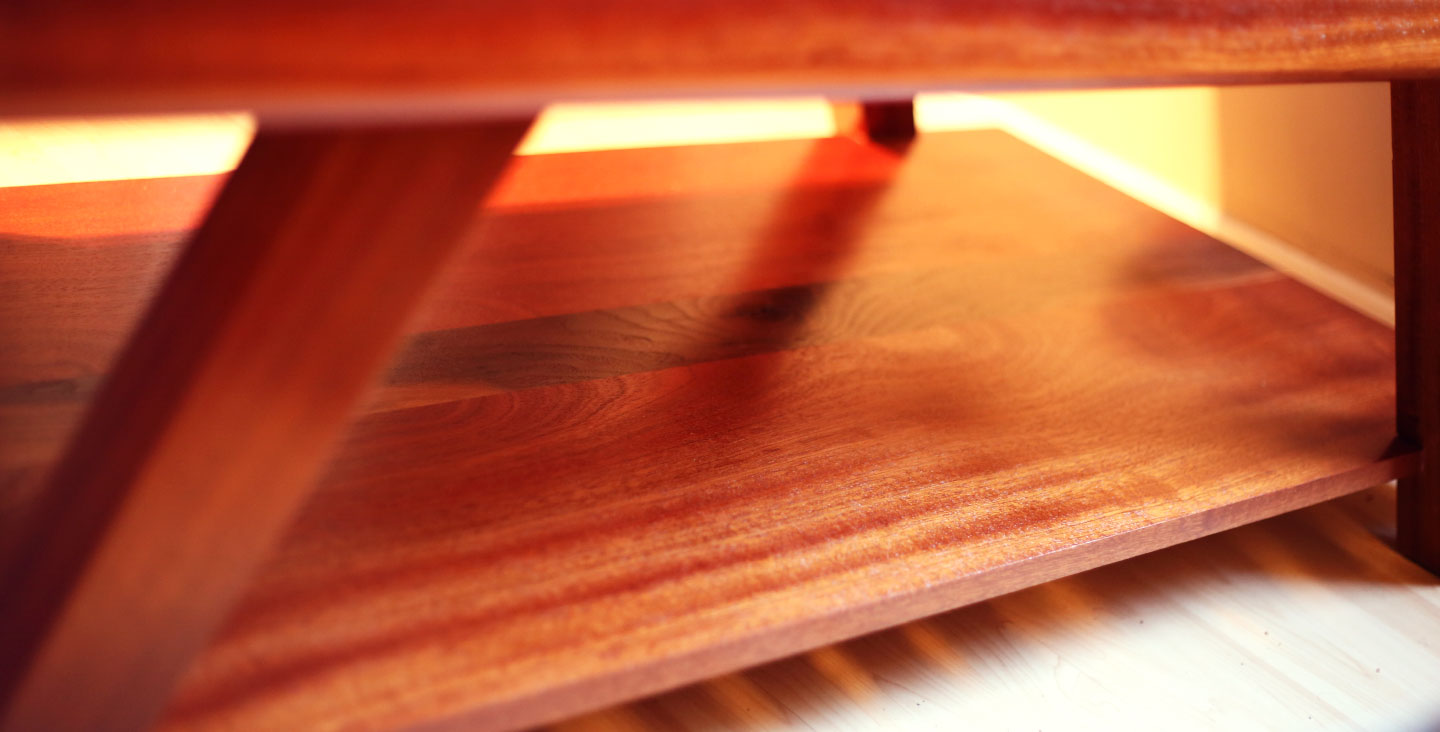
Bottom shelf detail. We could have easily made it without the bottom shelf, but we knew their current coffee table was constantly stacked with birding books and The Surfer's Journals, so this will come in handy!
Details through the glass. Alex getting barrelled at Blacks and a soupfin shark in the La Jolla kelp beds.
Thanks for reading! Time to start on a coffee table for us now…